YubiKey + PGP: Offline Primary, Subkeys, Backups, and Git Signing

What we’ll build#
In this guide we’ll set up a modern PGP workflow anchored by a YubiKey. We’ll generate an offline, certification-only primary key and three subkeys for sign, encrypt, and auth.
We’ll also create secure backups before moving anything to hardware, set expiration dates on the subkeys, load the subkeys onto our primary YubiKey with touch policies, and then clone those subkeys to a second YubiKey as a spare. Finally, we’ll integrate the setup with Git commit signing.
This guide is written for macOS, but the steps translate easily to Linux.
Prerequisites#
- A YubiKey with the OpenPGP applet (e.g., YubiKey 5 series).
- macOS with Homebrew installed.
- Basic terminal familiarity.
Install the tools (macOS)#
brew install gnupg ykman pinentry-mac
Basic GnuPG setup#
We’ll work inside a temporary GnuPG home so we don’t touch any existing setup.
1) Create a temporary GNUPGHOME#
export GNUPGHOME="$(mktemp -d -t gpg-$(date +%Y.%m.%d))"
chmod 700 "$GNUPGHOME"
2) Create gpg.conf#
cat > "$GNUPGHOME/gpg.conf" <<'EOF'
# === Crypto preferences ===
personal-cipher-preferences AES256 AES192 AES
personal-digest-preferences SHA512 SHA384 SHA256
personal-compress-preferences ZLIB BZIP2 ZIP Uncompressed
default-preference-list SHA512 SHA384 SHA256 AES256 AES192 AES ZLIB BZIP2 ZIP Uncompressed

# === Strong digests & s2k ===
cert-digest-algo SHA512
s2k-digest-algo SHA512
s2k-cipher-algo AES256

# === Output / UX ===
charset utf-8
no-comments
no-emit-version
no-greeting
keyid-format 0xlong
list-options show-uid-validity
verify-options show-uid-validity
with-fingerprint
use-agent
armor

# === Security hardening ===
require-cross-certification
require-secmem
no-symkey-cache

# === New keys default ===
default-new-key-algo ed25519/cert,sign+cv25519/encr+ed25519/auth
EOF
3) Create gpg-agent.conf#
cat > "$GNUPGHOME/gpg-agent.conf" <<'EOF'
# === Path to pinentry on macOS/Homebrew (Apple Silicon) ===
pinentry-program /opt/homebrew/bin/pinentry-mac

# === SSH Support ===
enable-ssh-support

# === Cache TTLs ===
default-cache-ttl 86400
max-cache-ttl 86400
EOF
4) Reload agent to pick up the config:#
gpgconf --kill gpg-agent
Prepare the YubiKey#
If you keep a spare YubiKey, run all steps below on both devices (one at a time).
Note: Insert only one YubiKey at a time to avoid confusion.
1) Enable KDF#
KDF (Key Derivation Function) makes the YubiKey store a hash of the PIN and derive it locally, rather than accepting the PIN as plain text.
Warning: Older/legacy OpenPGP clients (especially some mobile apps) may not support KDF; those clients will fail PIN checks if KDF is enabled.
Order of operations: Enable KDF before changing PINs or moving subkeys to the card, otherwise you may hit:
gpg: error for setup KDF: Conditions of use not satisfied
Enable KDF:
gpg --card-edit
gpg/card> admin
gpg/card> kdf-setup
# pinentry will prompt for the Admin PIN (default is 12345678 on a fresh card)
gpg/card> quit
Verify:
gpg --card-status | grep 'KDF setting'
# KDF setting ......: on
Do this on each YubiKey (primary and spare) before proceeding to change PINs, set touch policies, or move subkeys.
2) Change the default PINs#
Note: Default User PIN = 123456, default Admin PIN = 12345678
Generate random numeric PINs and store these securely:
export ADMIN_PIN=$(LC_ALL=C tr -dc '0-9' </dev/urandom | fold -w8 | head -1)
export USER_PIN=$(LC_ALL=C  tr -dc '0-9' </dev/urandom | fold -w6 | head -1)
printf "\nAdmin PIN: %12s\nUser  PIN: %12s\n\n" "$ADMIN_PIN" "$USER_PIN"
Change the PINs:
gpg --card-edit
gpg/card> admin
gpg/card> passwd
# 1 - Change PIN          (default 123456)     -> enter $USER_PIN
# 3 - Change Admin PIN    (default 12345678)   -> enter $ADMIN_PIN
# Q - quit
gpg/card> quit
3) Set touch policies#
# Require touch for every signature
ykman openpgp keys set-touch sig on

# Cache touch after PIN entry for encryption and auth
ykman openpgp keys set-touch enc cached
ykman openpgp keys set-touch aut cached
Verify:
ykman openpgp info
Touch policy modes:
off— no touch requiredon— touch required for every operationfixed— likeon, but cannot be changed without resetting the OpenPGP appletcached— touch once per PIN session (until PIN cache expires or card is removed)cached-fixed— likecached, but cannot be changed without reset
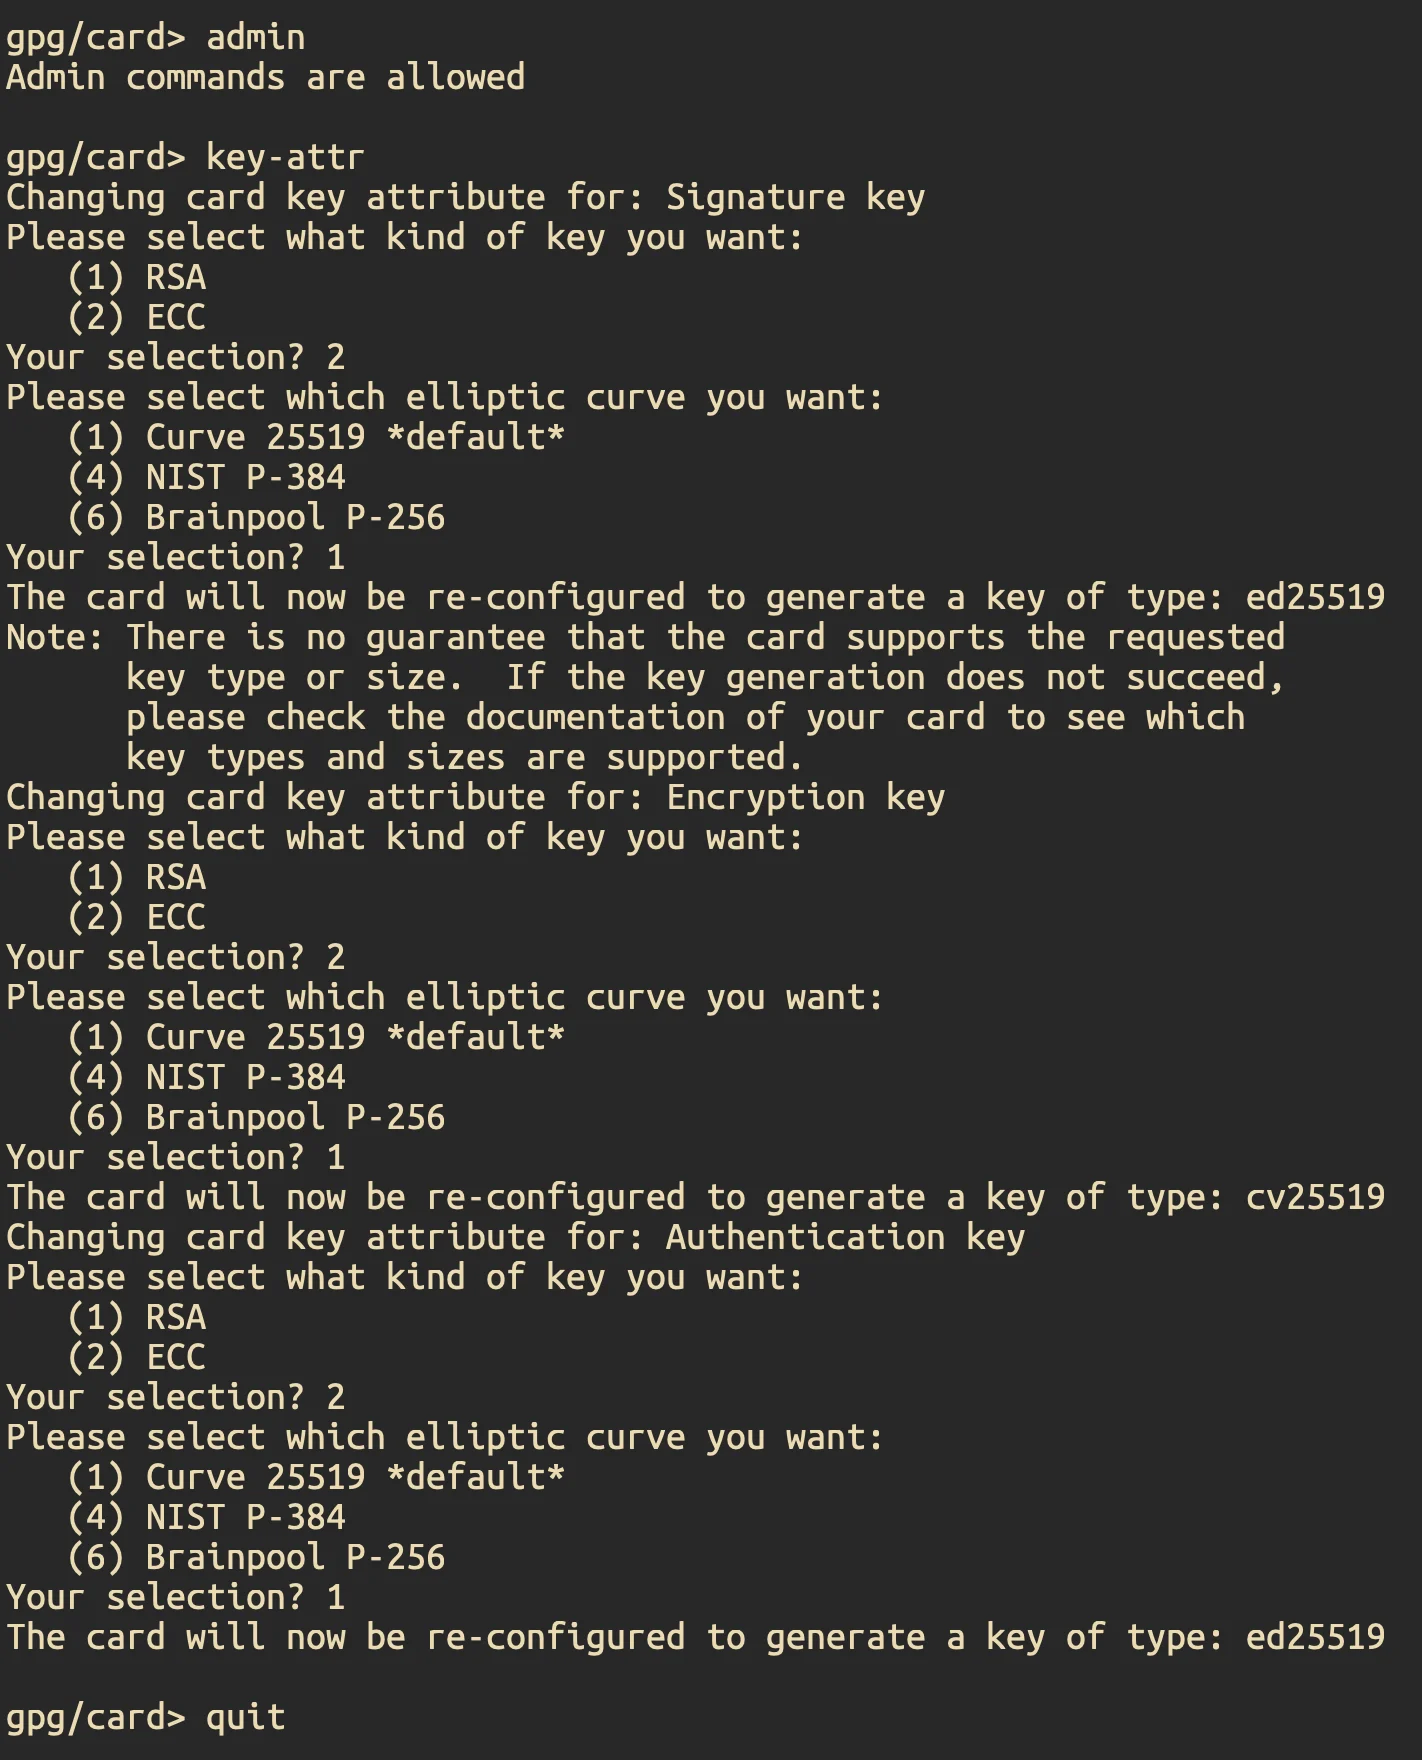
4) Set key attributes (Ed25519 / cv25519 / Ed25519)#
gpg --card-edit
gpg/card> admin
gpg/card> key-attr
# Signature : ECC -> Curve 25519 (Ed25519)
# Encryption: ECC -> Curve 25519 (cv25519 / X25519)
# Authentication: ECC -> Curve 25519 (Ed25519)
gpg/card> quit
5) Cardholder info#
gpg --card-edit
gpg/card> admin
gpg/card> name   # Lastname, Firstname
gpg/card> lang   # en
gpg/card> login  # [email protected]
gpg/card> quit
Check card status:
gpg --card-status
When finished, repeat the same steps on your spare (if you have one).
Generate the offline Master (Certify) key (Ed25519)#
The primary (master) key is the Certify key. It’s used only to issue subkeys for sign, encrypt, and auth. We keep this key offline at all times and use it only in a dedicated, secure environment to create or revoke subkeys.
Important: Do not set an expiration date on the Certify key.
1) Generate a strong passphrase for the master key#
export CERTIFY_PASS=$(LC_ALL=C tr -dc "A-Z2-9" < /dev/urandom | tr -d "IOUS5" | fold -w ${PASS_GROUPSIZE:-4} | paste -sd ${PASS_DELIMITER:--} - | head -c ${PASS_LENGTH:-29})
printf "\n$CERTIFY_PASS\n\n"
Note: We will use it when GnuPG prompts during key creation.
2) Create the Certify-only primary key#
gpg --expert --full-generate-key
When prompted:
- Key type: choose ECC (set your own capabilities).
- Capabilities: leave only “Certify (C)” enabled. Disable Sign/Encrypt/Auth if shown.
- Curve: choose Curve 25519 (Ed25519).
- Expiration: choose no expiration (enter
0). - User ID: enter your real name and email (comment optional).
- Passphrase: enter the passphrase you generated in step 1.

After creation, note the key ID:
export KEYID=$(gpg --list-keys --keyid-format 0xlong --with-colons | awk -F: '/^pub:/ {print $5; exit}')
echo "Primary KEYID: $KEYID"
3) Verify the primary key is Certify-only#
gpg -K --keyid-format long
You should see something like:
sec   ed25519/XXXXXXXXXX YYYY-MM-DD [C]
      Key fingerprint = XXXXXXXXXXXXXXXXX
uid   [ultimate] Your Name <[email protected]>
Only [C] should appear on the sec line (no [S], [E], or [A]).
Create subkeys#
We’ll add three subkeys to the offline primary key: Sign (Ed25519), Encrypt (cv25519/X25519), and Auth (Ed25519).
Open the key editor:
gpg --expert --edit-key "$KEYID"
1) Sign subkey#
gpg> addkey
# Choose: ECC (set your own capabilities)   # number may be (11)
# Curve: 25519 (Ed25519)
# Capabilities: leave ONLY [S] Sign (toggle others off)
# Expiration: 5y (or your preference)
2) Encrypt subkey#
gpg> addkey
# Choose: ECC (encrypt only)                # number may be (12)
# Curve: 25519
# Expiration: 5y
3) Auth subkey#
gpg> addkey
# Choose: ECC (set your own capabilities)   # number may be (11)
# Capabilities: leave ONLY [A] Authenticate
# Curve: 25519
# Expiration: 5y
gpg> save
4) Verify#
gpg -K --keyid-format long
You should see your primary key with [C] only, and three ssb lines:
sec   ed25519/XXXXXXXXXX YYYY-MM-DD [C]
uid   Your Name <[email protected]>
ssb   ed25519/XXXXXXXXXX YYYY-MM-DD [S] [expires: YYYY-MM-DD]
ssb   cv25519/XXXXXXXXXX YYYY-MM-DD [E] [expires: YYYY-MM-DD]
ssb   ed25519/XXXXXXXXXX YYYY-MM-DD [A] [expires: YYYY-MM-DD]
Export backups (master, subkeys, public)#
Critical: Do this before moving any keys to the YubiKey.
1) Create a private backups folder:#
mkdir -p gnupg-backups
chmod 700 gnupg-backups
2) Export the keys:#
# Master (primary + subkeys): full secret material
gpg --output "gnupg-backups/${KEYID}-certify-$(date +%F).key" --armor --export-secret-keys "${KEYID}"

# Secret subkeys only (no primary secret) — use for loading to YubiKey / cloning to spare
gpg --output "gnupg-backups/${KEYID}-subkeys-$(date +%F).key" --armor --export-secret-subkeys "${KEYID}"

# Public key (safe to share)
gpg --output "gnupg-backups/${KEYID}-public-$(date +%F).asc" --armor --export "${KEYID}"
Important: Store copies in two separate offline locations (e.g., two encrypted USB drives kept in different places).
3) (Optional) Encrypt the backup files#
Symmetric (passphrase-based):
# Encrypt each file with AES256; you'll be prompted for a passphrase
for f in gnupg-backups/${KEYID}-{certify,subkeys}-*.key gnupg-backups/${KEYID}-public-*.asc; do
  gpg --symmetric --cipher-algo AES256 "$f"
done
(Optional) Quick integrity check of the backups#
Spin up a throwaway keyring, import, and list:
TMPVERIFY="$(mktemp -d -t gpg-verify-XXXX)"
chmod 700 "$TMPVERIFY"

GNUPGHOME="$TMPVERIFY" gpg --import gnupg-backups/${KEYID}-public-*.asc
GNUPGHOME="$TMPVERIFY" gpg --import gnupg-backups/${KEYID}-subkeys-*.key
GNUPGHOME="$TMPVERIFY" gpg --list-secret-keys --keyid-format 0xlong
You should see sec# (stub for the primary) and ssb lines for subkeys after the subkeys import.
4) Clean up the temporary directory#
rm -rf "$TMPVERIFY"
Transfer subkeys to the YubiKey#
Important: Moving subkeys to a YubiKey turns their on-disk copies into stubs (
ssb#→ssb>), so they can’t be moved again unless we re-import the secret-subkeys backup. Make sure backups are done.
We’ll need the Certify key passphrase (for decrypting the secret material) and the YubiKey Admin PIN (to write keys to the card).
Note: Keep only one YubiKey inserted at a time.
1) Load the subkeys onto the primary YubiKey#
Insert the primary YubiKey, then:
gpg --status-fd=2 --command-fd=0 --expert --edit-key "$KEYID" <<'EOF'
key 1
keytocard
1
save
EOF
gpg --status-fd=2 --command-fd=0 --expert --edit-key "$KEYID" <<'EOF'
key 2
keytocard
2
save
EOF
gpg --status-fd=2 --command-fd=0 --expert --edit-key "$KEYID" <<'EOF'
key 3
keytocard
3
save
EOF
During these steps GnuPG will prompt for:
- your master (Certify) passphrase (to unlock the secret subkeys on disk), and
- the YubiKey Admin PIN (to write into the OpenPGP applet).
2) Verify subkeys are on the YubiKey#
gpg -K --keyid-format long
Each subkey should display as ssb> (stored on smartcard), for example:
sec   ed25519 YYYY-MM-DD [C]
uid   Your Name <[email protected]>
ssb>  ed25519 YYYY-MM-DD [S] [expires: …]
ssb>  cv25519 YYYY-MM-DD [E] [expires: …]
ssb>  ed25519 YYYY-MM-DD [A] [expires: …]
Additionally:
gpg --card-status
Should list the Signature/Encryption/Authentication slots and the touch policies you set earlier.
3) (If you have a spare) Re-import and load to the second YubiKey#
Because moving subkeys to the first YubiKey turned local copies into stubs, we’ll clear any existing secret entries and re-import the pre-move secret-subkeys backup.
# Ensure you're in the same GNUPGHOME you used for the guide
echo "$GNUPGHOME"

# Remove current secret entries (drops stubs)
gpg --delete-secret-keys "$KEYID"

# Re-import secret subkeys
gpg --import gnupg-backups/${KEYID}-subkeys-*.key

# Sanity check — these must be plain `ssb` (not `ssb#` or `ssb>`)
gpg -K --keyid-format long
Insert the spare YubiKey (only this one inserted), then run the same transfer flow:
gpg --status-fd=2 --command-fd=0 --expert --edit-key "$KEYID" <<'EOF'
key 1
keytocard
1
save
EOF
gpg --status-fd=2 --command-fd=0 --expert --edit-key "$KEYID" <<'EOF'
key 2
keytocard
2
save
EOF
gpg --status-fd=2 --command-fd=0 --expert --edit-key "$KEYID" <<'EOF'
key 3
keytocard
3
save
EOF
Note: Pinentry will prompt for your master (Certify) passphrase and the Admin PIN.
4) Verify:#
gpg --card-status
gpg -K --keyid-format long
You should see ssb> for all three subkeys again, now on the spare as well.
Done! Both YubiKeys now hold the same Sign/Encrypt/Auth subkeys.
Post-Setup#
Publish your public key (keys.openpgp.org) and link it to your YubiKey#
Why? Publishing the public key makes it easy for others (and for your future machines) to discover it.
Upload#
- Go to keys.openpgp.org → Upload Key.
- Export and upload your public key:
gpg --armor --export "$KEYID" > pubkey-$KEYID.asc
- Click Send verification email.
- Check the inbox for the email on your key and click the verification link.
Put the public key URL on your YubiKey#
We’ll store a permalink to your key on the card so any machine can fetch it with one command.
1) Get your full fingerprint and build the permalink:
FPR=$(gpg --with-colons --fingerprint "$KEYID" | awk -F: '/^fpr:/ {print $10; exit}')
echo "Fingerprint: $FPR"
echo "Permalink  : https://keys.openpgp.org/vks/v1/by-fingerprint/$FPR"
2) Write the URL into the card:
gpg --card-edit
gpg/card> admin
gpg/card> url
https://keys.openpgp.org/vks/v1/by-fingerprint/$FPR
gpg/card> quit
Note: Do this for each YubiKey you use (primary and spare).
On a new machine: fetch straight from the card#
Insert the YubiKey and run:
gpg --card-edit
gpg/card> admin
gpg/card> fetch
gpg/card> quit
This pulls your public key from the URL stored on the card and imports it into the new machine’s keyring. You can verify with:
gpg --card-status
gpg -K --keyid-format long
GitHub: sign commits with your YubiKey subkey#
We’ll upload your public key to GitHub and configure Git to sign with the Sign subkey that lives on your YubiKey.
1) Get the Sign subkey’s long ID (automatically)#
# Prints the first subkey with [S] capability (long 0x… ID)
SUBKEY_SIGN=$(
  gpg -K --with-colons --keyid-format 0xlong "$KEYID" |
  awk -F: '/^ssb/ && $12 ~ /s/ {print $5; exit}'
)
echo "Signing subkey: $SUBKEY_SIGN"
2) Add your public key to GitHub#
- Export your public key and copy it:
gpg --armor --export "$KEYID" | pbcopy # macOS; use xclip/clipboard on Linux
- GitHub → Settings → SSH and GPG keys → New GPG key → paste → Add GPG key.
Important: Your commit email must match a verified email on GitHub.
3) Configure Git to use that subkey#
git config --global gpg.program gpg
git config --global gpg.format openpgp
git config --global user.signingkey "$SUBKEY_SIGN"
git config --global user.email "[email protected]"  # must be a verified GitHub email
git config --global commit.gpgsign true
git config --global tag.gpgSign true